Crop Image Using Image Viewer App
Cropping is the process of creating a new image from a part of an original image. You can use image cropping to extract a region of interest, or to remove unwanted areas. The Image Viewer app enables you to crop an image interactively and save the cropped area to a new image file or to the workspace.
Define Cropping Rectangle
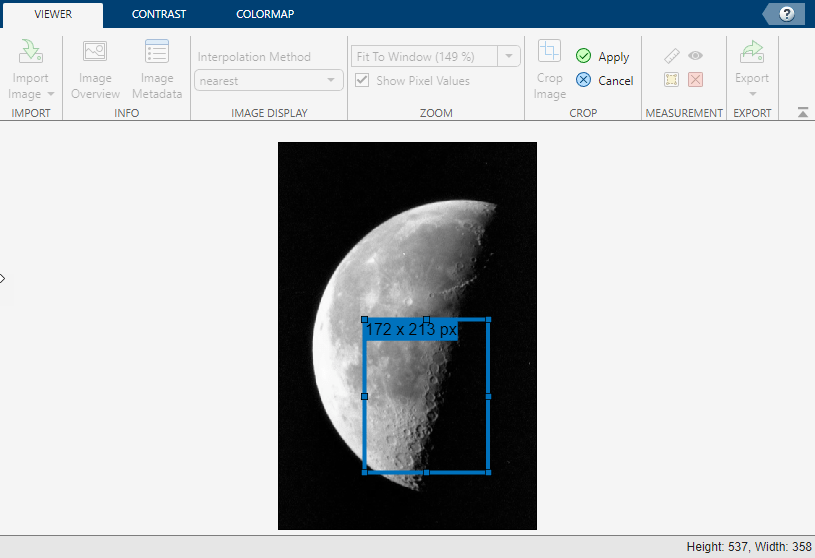
To crop an image loaded in Image Viewer, on the Viewer tab of the app toolstrip, select Crop Image. A cropping rectangle appears over the image in the main display pane. The rectangle displays the dimensions of the cropped region, in pixels. Resize or move the cropping region by dragging the adjustment points or the inside of the region, respectively. When you are satisfied with the cropping region, you can either crop the image to the rectangle in the app or export the region without cropping the view in the app.
This figure shows an image with the cropping tool enabled. You cannot use other tools until you apply or cancel the cropping operation.
View Cropped Image in App
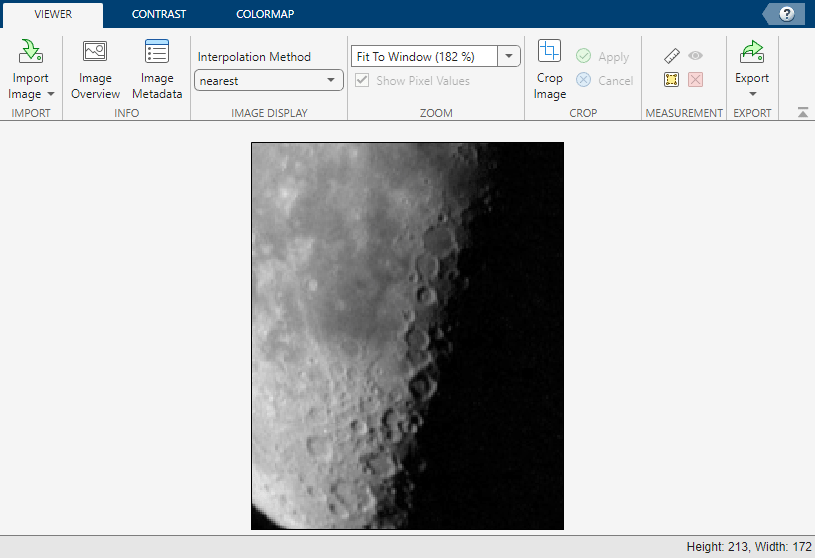
To crop the image in the app, in the app toolstrip, select Apply. The app displays the cropped image. You cannot reverse the crop operation. To view the full image, you must reload the image from the workspace or file.
You can save the cropped image to the workspace or in a new image file. On the Viewer tab of the app toolstrip, select Export > Export Image, and select either To Workspace or To Image File. The app saves the cropped image using the same data type as the original image.
Export Cropped Region
Alternatively, you can export the image region inside the cropped rectangle without applying the crop in the app. With the cropping tool open, right-click inside the cropping rectangle and select Export Selected Region, then Export Selected Region To Workspace or Export Selected Image To File. The app saves only area inside the rectangle to the workspace or file, respectively. The full image remains visible in the app.