Process Images Using Image Batch Processor App with File Metadata
This example shows how to access input file information while processing a batch of images in the Image Batch Processor app.
The processing pipeline used in this example renders RGB images from RAW Bayer-pattern color filter array (CFA) images. For an example that shows how to implement the pipeline for one image, see Implement Digital Camera Processing Pipeline. Once you create the processing pipeline, the next step in many image processing applications is to scale it up to operate on a batch of images. You can batch process images using built-in or custom processing functions using the Image Batch Processor. The custom batch processing function in this example uses the info input argument to access file information for each image in the batch.
In this example, you load each image into the app as a raw CFA image using rawread. The batch processing function applies this sequence of operations from a traditional camera processing pipeline.
Linearize the CFA image.
Scale the CFA data to a suitable range.
Apply white-balance adjustment.
Demosaic the Bayer pattern.
Convert the demosaiced image to the sRGB color space.
If your application does not require a flexible camera processing pipeline, you can load a folder of RAW files as RGB images directly into the app. By default, the app reads RAW files by using raw2rgb, which automatically converts each CFA image into an RGB image. The approach used in this example is more flexible and customized to each image. By using the info argument, the batch processing function uses the metadata for each input file to apply custom intensity scaling and correction before converting it to RGB.
Create Image Datastore
Create an image datastore object containing all files with the NEF file extension in the current example folder. To read the raw CFA images, specify the ReadFcn name-value argument as @rawread.
dataDir = pwd;
imds = imageDatastore(dataDir,FileExtensions=".nef",ReadFcn=@rawread);
Load Image Datastore into Image Batch Processor App
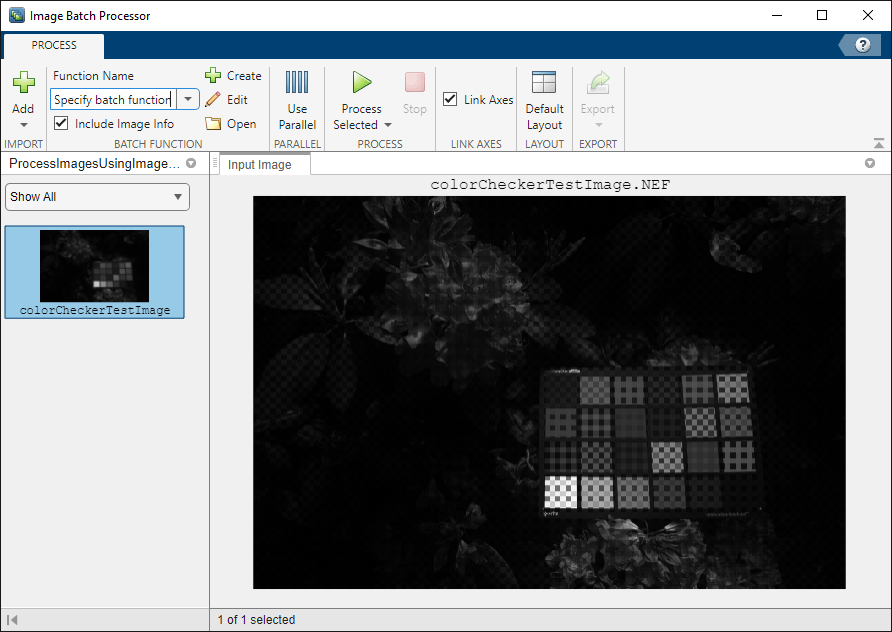
Load the ImageDatastore object into the Image Batch Processor app. The app opens and loads the images from the datastore using the read function rawread, which returns the visible portion of the CFA image in each file. The app creates thumbnails of the images in the datastore and displays them in a scrollable tab in the left pane. The app displays the first selected image (highlighted in blue) in larger resolution in the Input Image tab in the right pane. In this example, the datastore contains only one NEF file, so only one thumbnail is visible.
imageBatchProcessor(imds)
Specify Batch Processing Function
Specify the name of the function you want to use to process the images. To specify an existing custom function or a built-in MATLAB® function, type the name in the Function Name box in the Batch Function section of the app toolstrip. You can also click Open next to the box to browse and select the function. To create a new batch processing function, click Create in the Batch Function section of the app toolstrip. The app then opens the batch processing function template in the MATLAB Editor. For this example, click Create to create a new function.
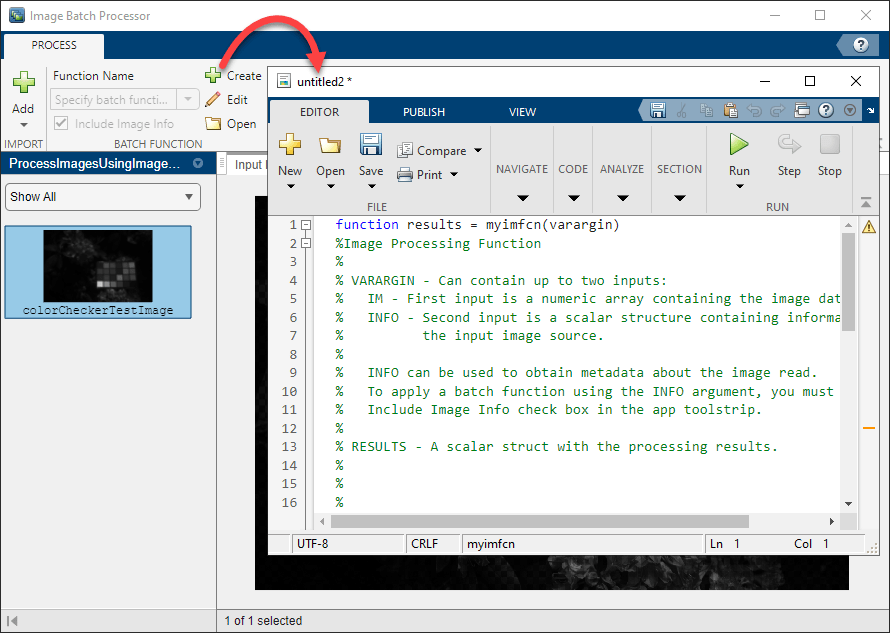
In the batch processing function template, enter code for the new function into the space reserved in the template file and click Save. This example uses the default name for the batch processing function, myimfcn, but you can specify any name.
The function template uses varargin to allow either one or two input arguments. The first input argument is always the image data array im. The second argument, if included, is a structure, info, that contains these fields:
Filename— The image source filename, including the path string, name of the file, and file extension.FileSize— Total file size, in bytes.Label— Image label name, if present. Otherwise, theLabelfield contains an empty string.
The Filename field is required to read the file metadata used by the camera processing pipeline. The myimfcn function accesses the filename using fileName = info.Filename. The rest of the script uses the image array and metadata attributes to balance the image levels and convert the image to the sRGB color space. The last two lines of the script assign the variables to be exported in the output results. Export the intermediate result imDemosaicLinear and the final sRGB image imsRGB.
function results = myimfcn(varargin)
%Image Processing Function
%
% VARARGIN - Can contain up to two inputs:
%   IM - First input is a numeric array containing the image data.
%   INFO - Second input is a scalar structure containing information about
%          the input image source.
%
%   INFO can be used to obtain metadata about the image read.
%   To apply a batch function using the INFO argument, you must select the
%   Include Image Info check box in the app toolstrip.
%
% RESULTS - A scalar struct with the processing results.
%
%
%
%--------------------------------------------------------------------------
% Auto-generated by imageBatchProcessor App.
%
% When used by the App, this function will be called for each input image
% file automatically.
%
%--------------------------------------------------------------------------

% Input parsing------------------------------------------------------------
im = varargin{1};

if nargin == 2
    % Obtain information about the input image source
    info = varargin{2};
end

% Replace the sample below with your code----------------------------------

% Get filename from INFO argument
fileName = info.Filename;

% Read file metadata
cfaInfo = rawinfo(fileName);

% Perform black level correction
colorInfo = cfaInfo.ColorInfo;
blackLevel = colorInfo.BlackLevel;
blackLevel = reshape(blackLevel,[1 1 numel(blackLevel)]);
blackLevel = planar2raw(blackLevel);
repeatDims = cfaInfo.ImageSizeInfo.VisibleImageSize ./ size(blackLevel);
blackLevel = repmat(blackLevel,repeatDims);
cfaImage = im - blackLevel;

% Clamp negative pixel values to 0
cfaImage = max(0,cfaImage);

% Scale pixel values to maximum pixel value
cfaImage = double(cfaImage);
maxValue = max(cfaImage(:));
cfaImage = cfaImage ./ maxValue;

% Adjust white balance
whiteBalance = colorInfo.CameraAsTakenWhiteBalance;
gLoc = strfind(cfaInfo.CFALayout,"G");
gLoc = gLoc(1);
whiteBalance = whiteBalance/whiteBalance(gLoc);
whiteBalance = reshape(whiteBalance,[1 1 numel(whiteBalance)]);
whiteBalance = planar2raw(whiteBalance);
whiteBalance = repmat(whiteBalance,repeatDims);
cfaWB = cfaImage .* whiteBalance;
cfaWB = im2uint16(cfaWB);

% Demosaic
cfaLayout = cfaInfo.CFALayout;
imDebayered = demosaic(cfaWB,cfaLayout);

% Convert to sRGB color space
cam2srgbMat = colorInfo.CameraTosRGB;
imTransform = imapplymatrix(cam2srgbMat,imDebayered,"uint16");
srgbTransform = lin2rgb(imTransform);

% Assign results to export
results.imDemosaicLinear = imDebayered;
results.imsRGB = srgbTransform;

%--------------------------------------------------------------------------
end
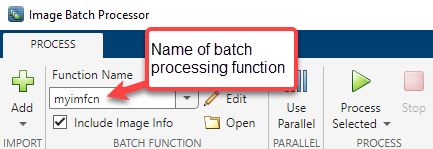
After saving the file, the app displays the name of this new custom function in the Function Name box on the app toolstrip.
Process Images Using Batch Processing Function
Test the new function by running the batch processor on one of your images. To pass the info argument to the custom batch function, in the Batch Function section of the app toolstrip, select Include Image Info. You must select the checkbox if the batch processing function expects the info argument or the app returns an error when you try to process images.
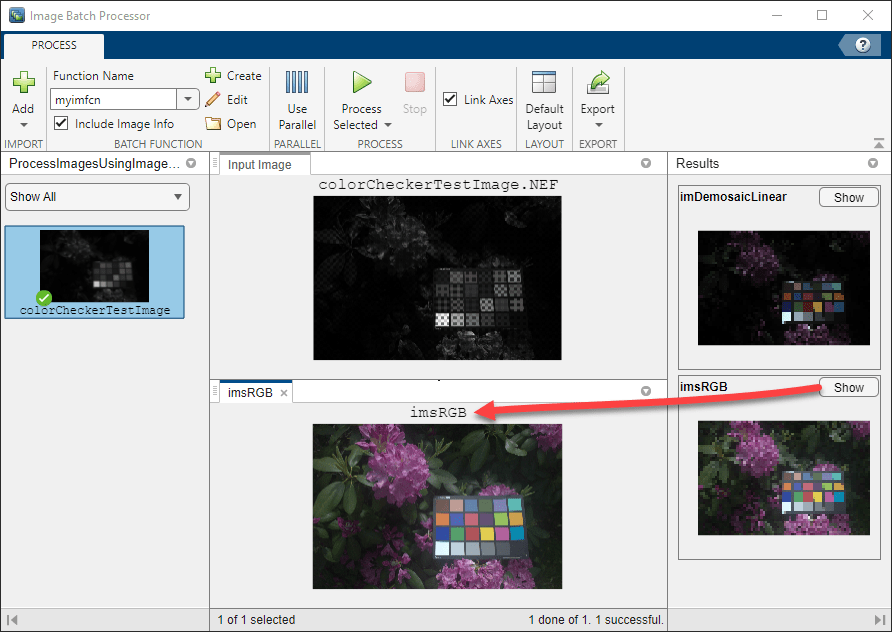
With one image selected (highlighted in blue), click Process Selected Images to process the selected image. The app displays the results of the processing in a new Results pane. For this example, the app displays the demosaiced RGB image and the final sRGB image.

To get a closer view of the image results, in the Results pane, click Show for that particular result. The app opens a larger resolution version of the image in a new tab in a bottom-center pane. For this example, view the sRGB results. In the Results pane, click Show for imsRGB. To explore the results, move the cursor over the image to access the pan and zoom controls. When zooming and panning, the app links the result image to the original image—panning or zooming on one image pans or zooms on the other image as well. If you do not want this behavior, clear Link Axes in the app toolstrip.
If the results of the test run on one image are successful, then you can execute the function on all of the images in the datastore. To process all the images at once, on the app toolstrip, click Process Selected and select Process All. You can also process only a subset of the images by selecting those images and clicking Process Selected Images. You can select images to process either by holding Ctrl and clicking each image you want to include or by clicking one image, holding Shift, and clicking another image to select all images in between and including the two images. If you have Parallel Computing Toolbox™, you can click Use Parallel on the app toolstrip to process the images on a local parallel pool. For this example, select Process All to process all of the images.
The app processes all the images in the datastore. A filled-in green circle with a check mark next to a thumbnail indicates the app successfully processed that image. The Results pane contains the results of the selected image thumbnail (highlighted in blue). A status bar at the bottom of the app window reports on the number of images processed and how many have been processed successfully.
Export Processed Images and Processing Pipeline
You can save your results by exporting them to the workspace or to a file. Alternatively, you can generate a MATLAB function from the code the app uses to generate the results.
Save the results in a workspace variable. On the app toolstrip, click Export and select Export result of all processed images to workspace. In the dialog box that opens, select which results you want to export. For example, you can export the nonimage results to the workspace and save the images returned by your batch processing function to files. For this example, save the image results and the name of the input file to the workspace variable allresults.

By default, the app returns the results you select in a table named allresults. To store the results in a structure instead of a table, select Struct Array. To specify another name for the results variable, change Variable name in the dialog box. If you select Include input image file name, the app includes the name of the image associated with the results in the structure or table. After specifying your exporting details, click OK.
To generate a MATLAB function from the code that the app uses to process your files, on the app toolstrip, click Export and select Generate function. The app opens the Generate function dialog box, where you can specify options for the generated function. By default, the generated function returns a table with the results, but you can select Struct Array to output a structure instead. For image results, you can specify whether to write the image to a specified output folder or include it in the results output. When outputting the images to files, you can also specify the file format for each. Once you click OK, the app generates a function that accepts an image source, as a folder name or imageDatastore object, and an output folder name as input arguments.
See Also
Image Batch Processor | imageDatastore